Through years of trial and error, I’ve cemented some of my personal best practices for desktop imaging that I’d like to share with all of you in this article. Although the technologies are very different, my practice for creating a golden image of physical and virtual desktops have many things in common.
Now, by no means am I suggesting this is industry image management best practice or even that you should follow my lead – I’m just sharing my methods. Maybe you do some of the same things yourself, feel free to leave feedback on our site.
Not so bare image
While I do like to keep my desktop image as bare as possible, I do make some exceptions:
- For patching purposes, I like to put Microsoft products in the image.
- I install our organization’s standard version(s) of .NET Framework e.g. 3.5 SP1 (as a feature) and 4.6.2 Full.
- I install all relevant versions of Visual C++ Redistributable.
Some people like to install every single version of Visual C++ Redistributable, but I advise against this. For example, if 2005 is not required, why install it? You’re adding junk into the image for no reason, AND the visual C++ redistributable support is aligned with versions of Visual Studio. 2005 is technically not supported which means you’re introducing a needless security hole. I may also install J# runtime (if required), Silverlight (if required) and of course, update Powershell
Should you add Office to an image file?
Whether you put Microsoft Office on the image is up to you. Currently, I do put it on. My reasoning is that an organization doesn’t change versions of Office very often. Of
course, putting this in the image means you’ll have to create a new image from scratch further down the line if you want to install a different version of Office or remove it. That’s why I’ll leave it up to you. I’d try to figure out your organization’s roadmap and strategy for Office 365 before deciding!
Once you have an image which has passed testing by pilot groups, the apps on the image remain pretty static, but you will need to inject patches frequently. When you can crack open your image once a month or quarter and install your latest updates, having the Microsoft products in the image ensures you get to do this ONCE for many. I prefer this because if you have a completely bare image that doesn’t include these apps and you install them as part of your build process instead, you’ll add several minutes and possibly multiple reboots to your imaging process PER desktop. When you calculate, the time lost per desktop, you could be looking at hours or even days per year wasted.
Updating your images
If you have a patching solution which also enables you to patch some of your company-wide third party apps, you could consider putting those in the image too. Most organizations I’ve worked for don’t have a specific tool for patching third party apps, so I keep my images restricted to just the Windows applications.
Over the last year, Microsoft has moved to a different structure for patching. You may find that security patches are now delivered as monthly rollups. This can be challenging for some organizations, but regarding desktop imaging, it makes things a lot easier. Downloading and installing the patches takes about the same amount of time as far as I can tell but it’s less of a guessing game about whether or not all the patches have arrived on the machine or not.
With Windows 10 and Server 2016, App-V and UE-V are included as features within the Operating System. I enable the App-V feature in these images and apply the relevant hotfixes.
Creating your golden image
Imaging tools for physical desktops
In my experience, over the last few years System Center Configuration Manager (SCCM) has been dominating the enterprise software deployment market. As recently as 2010-2011 I worked with a mix of Altiris, LANDesk, Marimba and SCCM 2007 for imaging physical desktops and deploying MSI packages. With the wide availability of System Center, it seems more and more organizations are embracing SCCM 2012 and 2016. This not an endorsement one way or another. I’ve deployed Windows with all of them. I really liked Marimba and LANDesk but as a colleague of mine once said: “using Microsoft’s tools to deploy Microsoft’s software makes the most sense!”

I spent many years working for a Microsoft partner, and we worked around the shortcomings of Windows Deployment Services to make it usable! We fell in love with the simplicity of Microsoft Deployment Toolkit and later embraced SCCM. I still like using MDT to create my image, then deploy it using SCCM.
NOTE: You can read more about application deployment with SCCM in our article “Application packaging options for SCCM“.
SCCM provides a couple of advantages in a large enterprise organization over MDT. The SCCM agent can be used for Windows Updates deployment which is an integral piece of the process, AND most importantly, SCCM allows you to deploy your image zero-touch. In a big organization, this is critical. MDT’s ‘lite touch’ is fine at small or medium scale, but it’s a lot of redundant effort to have techs going to each machine when deploying to tens of thousands of desktops.
If you’re considering a Windows 10 migration in line with a hardware refresh, I suggest you look at desktops and laptops that contain a Trusted Platform Module. You can then leverage Microsoft’s Device Guard, Credential Guard and Microsoft BitLocker Administration and Monitoring.
Resources
If using MDT or SCCM, Check out this amazing driver automation tool by my fellow Irishman and Microsoft MVP, Maurice Daly: Driver Automation Tool.
Imaging virtual desktops
Most of the tools you’ll use for your virtual desktop imaging will be determined by the VDI stack your organization purchases or owns.
VMware imaging tools
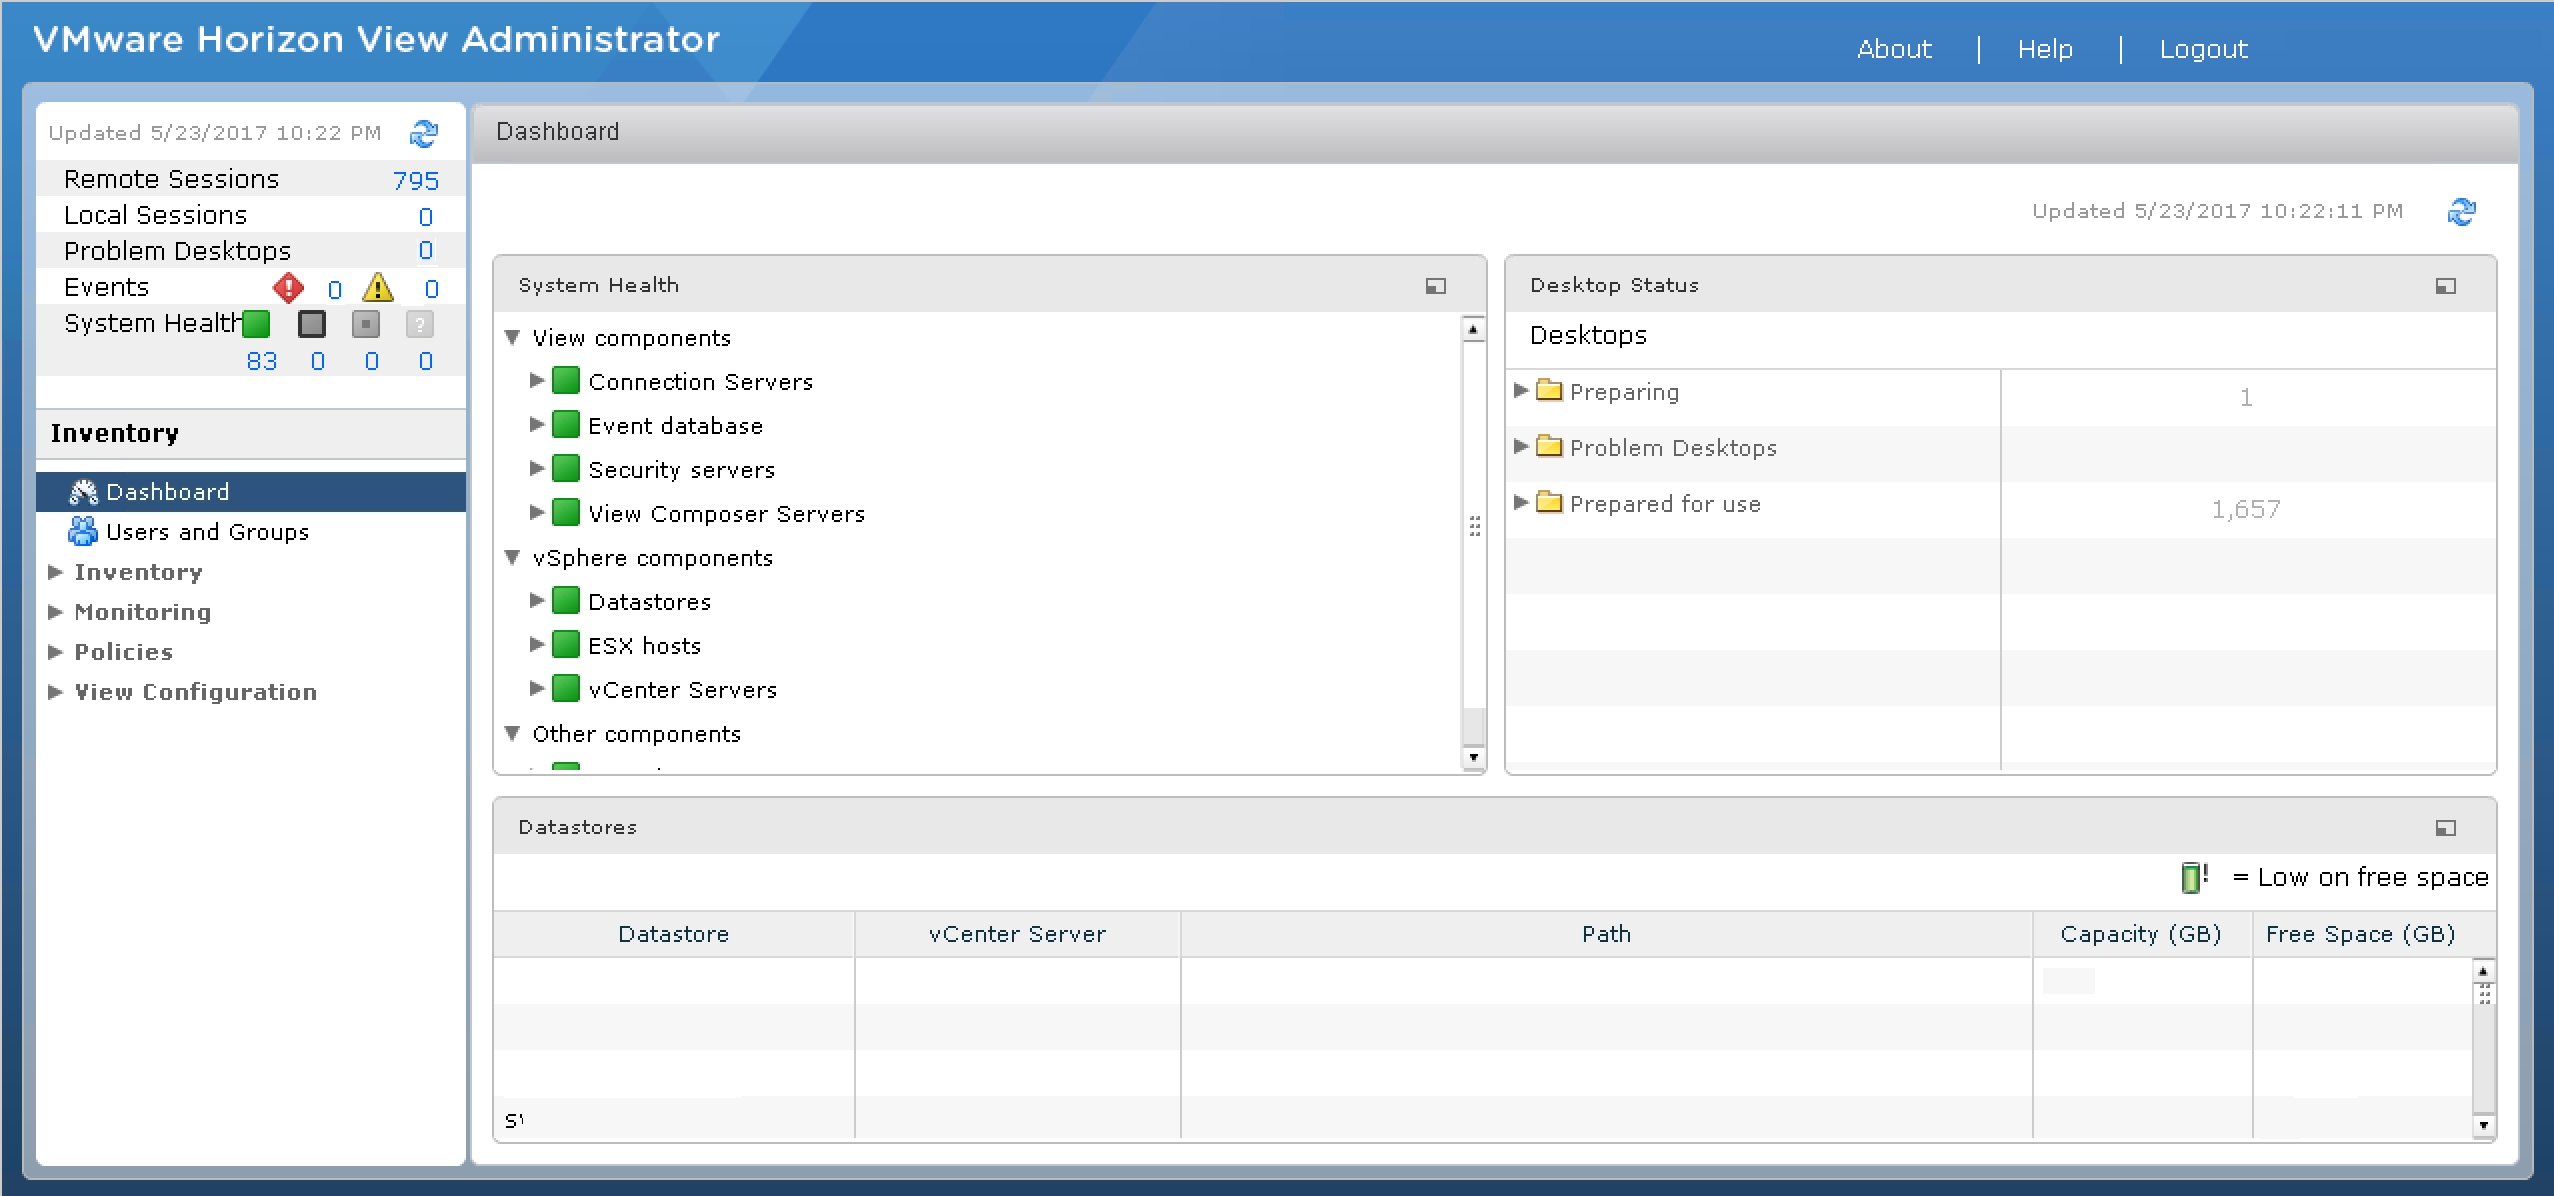
If you’re a VMware customer and own the VMware VDI stack, you may use VMware Horizon with linked Clones. Creating your desktops is easy enough – you just use your existing vSphere client and create your parent VM following VMware’s guide.
Resources
VMware View 5.0 Documentation Center: Creating and Preparing Virtual Machines.
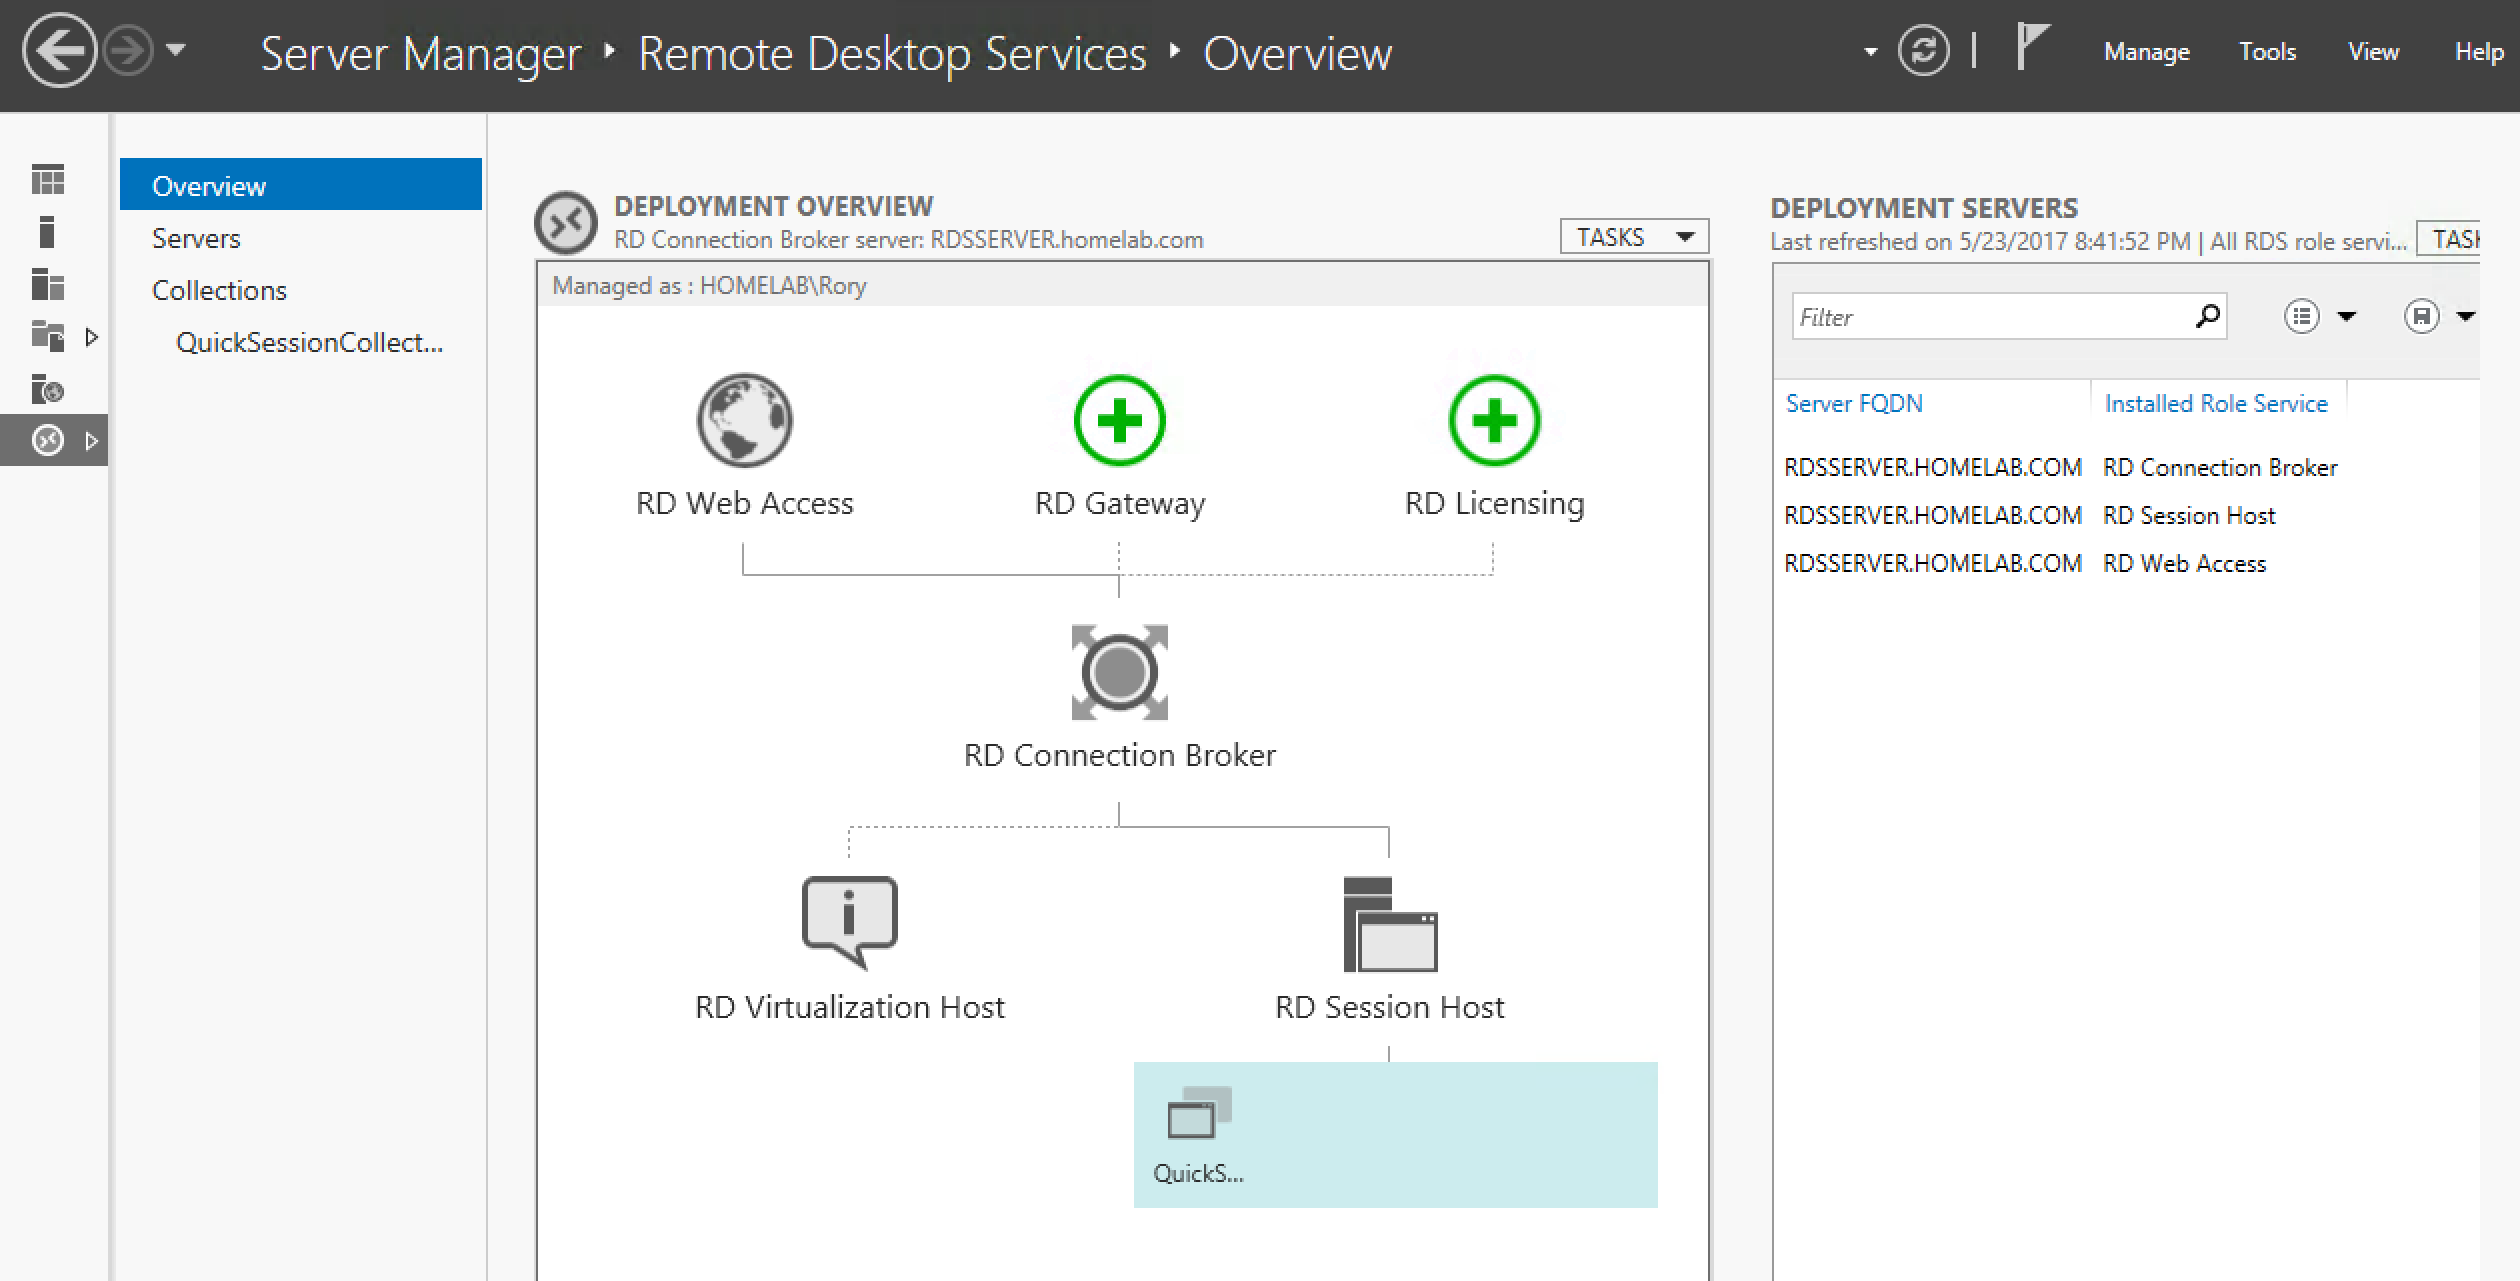
If you are using Microsoft’s Remote Desktop Services for your virtual desktops, may God have mercy on your soul 🙂
I’m kidding, kind of.
RDS is not fit for purpose for medium to large sized VDI. To me, the process for creating and updating desktop images in this product is a little more antiquated due to a lack of an integrated solution or agent. You go back and forth between Hyper-V, Server Manager and your VM.
Resources
Deploying VDI for RDS 2012 / 2012R2 – Part III – Updating a Pooled Desktop Image
Citrix imaging tools
If you’re a Citrix customer, you may use Machine Creation Services or Provisioning Services (PVS). Creating and maintaining images in MCS or PVS is pretty simple. Both require the Citrix Virtual Delivery Agent to be installed in the image.
MCS has a lot of similarities regarding management with VMware Horizon. You’ll create, maintain a parent Virtual Machine and clone desktops from this parent. With PVS your image is streamed over the network to your virtual desktops and servers in an optimized fashion, and the overhead is very low. Early on, scalability of MCS was called into question, but more recently it seems like Citrix is putting a lot more focus on MCS and it’s getting more play with their cloud services.
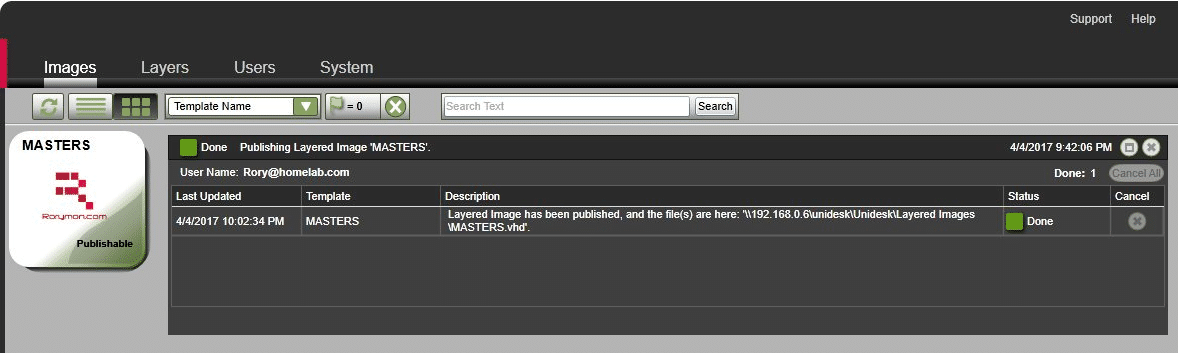
Citrix acquired Unidesk and have now released their own Citrix App Layering product. Somewhat ironically, Unidesk 3.x was the only good way to deploy and manage RDS for a medium sized organization. With the 4.x release, they’ve really flipped the script. You can now use the product to generate an image for any virtualization platform (including Nutanix Acropolis) and even for Azure!
This is made possible thanks to their new Platform Layer. Essentially, you don’t have to know the ins and outs of how to create and manage an image with Horizon\vCenter, RDS\Hyper-V\SCVMM, Acropolis, MCS, PVS, etc. If you learn how to use Citrix App Layering and the Platform Layers, you’ll be able to use one product/one method to create an image for each!
No matter what your stack, my suggestion for what goes into the image is the same as with your physical desktop image: install your Microsoft products and patch.
Comparing physical and virtual images
A couple of differences exist with virtual desktops: you’ll likely have to install the agent\component relevant for your VDI platform e.g. Citrix VDA AND if you’re deploying personal desktop, published shared desktop and\or published applications, you should consider whether or not you want to include Office in your image. It may make more sense to deliver it as a virtual application. The reason for this is because the licensing for Office differs between a personal desktop or one shared by multiple users. Including it in the image would mean you will need to manage multiples images.
Resources
For more on Office 365 licensing on shared machines, read: Deploy Office 365 ProPlus by using Remote Desktop Services.
The apps and getting to one gold image
Continuing from the previous section, if you do decide to virtualize Office, App-V is the best way to do this. Other application virtualization products only support virtualizing certain versions of Office for Windows 7 but not for Windows 8.1 or Windows 10. This is because Microsoft changed the way Microsoft Office licensing is processed on their newer Operating Systems.
Resources
Guide for Office using Turbo: Virtualizing Microsoft Office 2013 using the Snapshot method.
Guide for Office using ThinApp: Packaging guide for ThinApp 5.x and Microsoft Office 2013.
It would be nice if Microsoft would work with other vendors to enable more of their customers to deploy Office as a virtual application in the future. With that said, I was never a big fan of deploying Office as a virtual application anyway. Patching the App-V sequenced Office becomes a pain in the arse and managing the integration between your virtual Office and add-ins becomes complicated.

With that ugliness aside, what about all of your other application that are not part of your golden image? How you deploy your applications is key to how many images you will have to create and maintain. There are a lot of products which can you help you, particularly on the virtual side of the house.
Virtualizing applications for physical desktops
For your physical desktops, you can virtualize applications using App-V, Turbo, Cloudhouse, ThinApp or any great ‘appvirt’ product.
Let’s assume you use App-V for example. Your desktop build process could become as simple as delivering your image and installing the App-V client as part of your build process. When the desktop has been built, it can trigger an SCCM refresh which will then trigger a deployment of any virtual applications you’ve assigned to that machine. Subsequently, if you choose to stream applications from your SCCM distribution point using user publishing, these apps will appear when the user logs in.
You just delivered a pretty bare image and installed only one locally installed application. All of the rest are virtual and delivered dynamically based on the computer and/or user. No lengthy installs, no install related reboots, no worries about application conflicts, and no worries about poor packaging practices leading to widespread problems.
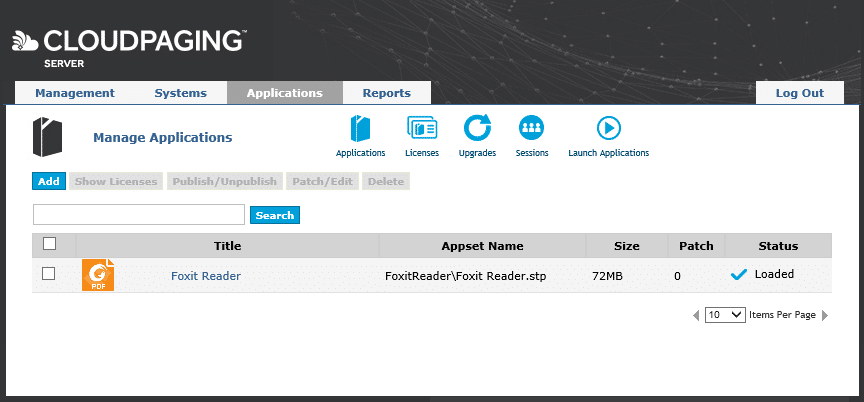
Now, that’s a perfect world scenario, and if you’ve used products like App-V and ThinApp, you’ll know that’s not reality. Not every application can be virtualized with these products. That’s why I like to use Numecent Cloudpaging which has an incredibly impressive rate of application compatibility. This is in large part thanks to the ability to simply deliver the virtual application without isolation if required.
NOTE: You can read more about application compatibility in our article “Windows 10 application compatibility strategy“.
Cloudpaging not only drives a high rate of application compatibility, it also provides a simplified application packaging experience. There’s very little expertise required. Virtualizing an application with a driver is as simple as installing the applications and then checking a box in the packaging tool. It really is amazing!
It does, however, have some shortcomings right now. It lacks integration with SCCM, which as mentioned is so widely used in the enterprise. They also don’t integrate with many of the other widely used platforms, so working with your current toolset requires some effort. Hopefully, this will change soon!
With virtual desktops, application layering is becoming a very hot topic. Layering doesn’t have the same application compatibility limitations associated with isolation seen in traditional application virtualization products. Like Cloudpaging, this leads to a high rate of success when it comes to ‘packaging’ and deploying applications as layers. As of writing, you can’t deploy Citrix Application Layers to physical desktops. You CAN deploy VMware App Volumes and Liquidware Labs FlexApp layers to physical desktops if you so choose.
Virtual desktops and RDSH
Technologies such as application virtualization and layering become a lot more important when talking about virtual desktops and Remote Desktop Session Hosts. When you have hundreds or thousands of desktops which may continually be getting removed and rebuilt throughout the day, you can’t rely on an ESD like SCCM to deliver the applications as MSI or scripted installs.
Imagine it! You have a non-persistent desktop in Horizon. You log off, the desktop recomposes into its clean state. You log in and get met with installation dialogs for all of your applications. It just wouldn’t work!!
How about SCCM delivering your App-V applications upon login to your Horizon non-persistent desktop? Unfortunately, the way SCCM has been architected currently makes it unfit for delivering App-V apps to non-persistent desktops. On startup, it takes several minutes before the SCCM agent processes the App-V app publishing. This means a user can log into their desktop, but they won’t see any application shortcuts for the first few minutes.
Streaming and layering
This makes application streaming and layering popular choices. A combination I like is App-V with the App-V Scheduler. You can configure the App-V client to run in Shared Content Store mode and configure your refresh settings within the Scheduler. While you could use the App-V Full Infrastructure with Shared Content Store mode, I’m not a huge fan of this because it requires dedicated infrastructure, publishing servers, management servers, database, etc. The App-V Scheduler doesn’t need any of that! It also allows you to push new applications in real time.

Of course, as mentioned previously App-V may not be an option for ALL of your applications, BUT you can use it together with a layering product such as App Volumes, FlexApp, AppDisks or Citrix Application Layering. Together, you’ll likely be able to deliver 100% of your applications with relative ease, ensuring you don’t have to create multiple images just because a certain app your IT admins need can’t be sequenced but also can’t be on your finance teams desktop.
I am often asked if layering will kill off application virtualization. For me, right now the answer is NO. Even though you don’t sometimes have a work around App-V limitations such as Drivers, Boot time services and much more, it’s still an enterprise solution that integrates very well with SCCM, Citrix and is baked into Windows 10.
Application compatibility matrix
Check out this matrix I created just for dealing with limitations in App-V (click here for a pdf version and interactive decision matrix tool):
Another reason I believe application virtualization still has a place is that layering has its own set of limitations. It’s not so much an application compatibility limitation, but more so an architectural one. You may find yourself creating an application layer for your app for Windows 7 32-bit and another one for Windows 7 64-bit, even though it’s a single 32-bit application. The way the filter driver works for some of the layering products leads to issues with different OS Bit Types.
With Citrix Application Layering, you can only deploy a layer to the OS you created the layer on. That means you could have one application that requires a layer for Windows 7 32-bit, Windows 7 64-bit, Windows 10 32-bit, Windows 10 64-bit, Windows Server 2012 R2 and Windows Server 2016!
All layering products allow you to deliver your layer in real time. HOWEVER, your mileage may vary. Some applications are not well suited for this. They work better if attached at boot time. Remember your application layers are just little virtual disks that get attached or mounted. A filter driver provides the magic to make you app look and feel like it’s been traditionally installed. Certain applications may have components that just work better after a startup. Applications with low system level components are a good example of this. The different layering products have varying success rates when it comes to this.
Here is a App-Layering Cheatsheet provided by Bas van Kaam:
With application virtualization, you can usually create a single application and deliver to any desktop or server (assuming the app itself is compatible with that OS). With the right product, you can deploy your application instantly in real time. You still get isolation when required, which is very important for shared desktops or session hosts because it means you don’t have to worry about conflicts. No more having an application siloed onto its own set of servers. No more worrying about multiple server groups, multiple images and the complexity that goes along with that.
For your consideration
If all of this sounds like a lot hassle and you can’t even deal with it right now, I suggest you check out FSLogix. They are the Kings of keeping it simple! Their Office 365 product is out on its own right now (at the time of this writing) they are the only company addressing the headache of roaming these settings efficiently. They also have a very different solution for managing your applications. If you prefer to just install all of your apps on your image or possibly as part of a build, you can leverage FSLogix to mask\hide application from users and provide only the applications they are entitled too. It couldn’t be easier!

We focused a lot on imaging and then using different technologies to get to a single golden image. Which is a great way of reducing complexity and server sprawl in your XenApp farms but what if you still have other images, the one’s we don’t want to talk about after the WannaCry cyber attack? Your Server 2003 and XP machines. You still have them because there are apps that just refuse to work on a newer OS and you can’t just get rid of them. I suggest taking a look at Cloudhouse and Sphere3D for these applications. AppZero is also worth a mention for server side apps.


1 thought on “Guide to creating one Golden Image for Windows”
Comments are closed.